
How to Pose Your Family for a BIG Group Photo
Easily one of the best things about being at her photographer is being able to have pictures of your own families memories just like the pictures that I create for my clients. Now while I don’t dress Maddie up all the time and have super special two-hour photography sessions with her, she’s my go to gal for location scouting or when I want to try out a new skill or camera setting. But even when I’m not following her around with a camera on a regular Tuesday, I love to get really quality pictures of my family in our every day lives and our special memories. And you definitely don’t need a fancy camera to do the same!
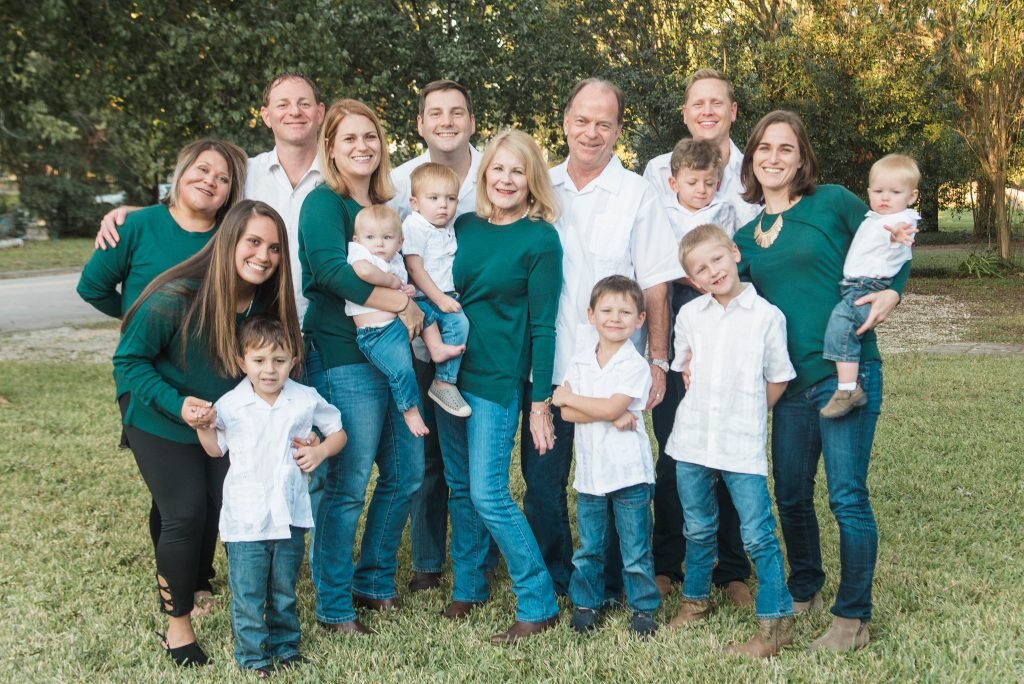
So today’s post is all about how to capture the WHOLE family in a group photo - maybe when you’re together at Thanksgiving! - with your iPhone.
In this post, I’ll cover how to post the family AND how to go about getting in the photo yourself - even when you’re the photographer.
First, let’s talk about the set up.

There are a few keys to remember:
- Natural light is best
- Layer the people
- Shoot from slightly above
So wrangle your crazy crew outside if you can, and make sure you have a chair or bench to use for layering. If you have steps to work with, you can probably have everyone stand and just use the stairs to create rows of people. Shooting from slightly (but not too much!) above makes for a flattering angle for everyone. If you’re the shortest person in your family, grab a stool!!
Next, it’s time to pose the group.

- Pose from oldest to youngest
- Tell everyone to get CLOSE like really close
- Tell everyone to lean into the middle to make them get even closer together
I like to pose from oldest to youngest, so get grandma and grandpa front and center on the bench. Then stack the next oldest people around them and build out from there. When you get down to the littlest kids of the group, you can use them to fill in holes or better yet - sit them in grandma and grandpa’s laps! When you tell everyone to scoot in close, they probably still won’t be close enough. Have the people on the edges turn in slightly and then tell everyone to lean into the middle to get even closer together. Physical closeness represents emotional closeness, so we don’t want everyone standing in two lines like a Civil War photo. That probably won’t get you the “we love each other” family vibe you’re going for.
Now it’s time to actually take the picture!
You want everyone to…
- Smile
- Laugh and Talk and Look at each other
- Smile Again
When you’re ready to take the picture, make sure you can see everybody in the frame and that everybody’s looking at you. Then say “ok everyone smile, we’re going to take a classy one for grandma with everybody smiling at the camera.” Take a picture, then you actually want to have them start like smiling and laughing and looking at each other. I know it sounds awkward - and it is, but honestly that makes for some of the best photos. So you have everyone do that for a few snaps, then call out “OK! Everybody look at me! One more time! Everybody smile! 1-2-3!” and take rapid-fire photos. THAT’s your shot. With this strategy, you get the most relaxed and natural smile and (hopefully) everyone looking at the camera with all the eyes open!!
So, a quick review:
- Set up outside and from slightly above
- Pose from oldest to youngest and get in close
- Take the Picture using “smile - talk - smile”
But, how do you get YOURSELF in the family photo if you’re the photographer? Use a timer!

Set everything up in the same way, using either a tripod or one of these nifty things to hold your phone in place. Make sure you know we are going to go stand and that you can get there quickly. Don’t pose yourself so that you have to squeeze in between people or run around to the back. The photographer should either be on a side or somewhere in the front.
So now you’re probably wondering how you’re supposed to take multiple pictures like with the smile - talk - smile strategy. Some timers (including the iPhone one!) will actually take several pictures really fast in a row, so you can just prep everybody in advance to smile for the first round, then go click the shutter for a round of “laughing and talking pictures” and then have everyone smile for the final round. OR the phone tripod I linked even comes with a wireless remote control that you can click to activate the shutter from anywhere! Y'all. That's FANCY. In any case, you want to take LOTS of photos, so hopefully Uncle Joe’s eyes are open in at least one!
I hope this helps! If you have any question, or if you end up taking any awesome group photos using some of these steps, please please please please please send them my way! Or better yet - tag me on Instagram or in your Instastory! I want to see you put this into action because my whole goal with this post is for you to have some awesome family memories - even when you don’t have a professional photographer hanging around at your Thanksgiving dinner.